 If you’re using Windows Subsystem for Linux (WSL), you may be wondering how to upgrade your flavor of linux in place.
Whether you’re using WSL or WSL2, you could just go to the Windows Store and download the whole new shebang.
In my case, I was using Ubuntu 18.04 LTS, and it’s gonna die in the near future. So, I wanted to do a double-upgrade from 18.04 to 20.04 to 22.04. I’ve got a ton of stuff installed and configured, shell scripts set up, rsync, git, and so on – and I didn’t want to have to redo all of it.
Due to some strange error messages when you try do-release-upgrade, it doesn’t seem like you can do an in-place upgrade in WSL1/2 – but you can!
Get Ready…
To make sure you’re up to date and have all the necessary nonsense ready, run the following commands in your WSL terminal window:
1 2 | sudo apt updatesudo apt upgrade -y |
Get Set…
Next, make sure you don’t have junk like unused kernels and packages sitting around:
1 | sudo apt --purge autoremove |
And finally, you can’t do a release upgrade if you don’t have the package that makes it go:
1 | sudo apt install update-manager-core -y |
And, Go!
Now you’re ready to start the release upgrade process. Give it a try:
1 | sudo do-release-upgrade |
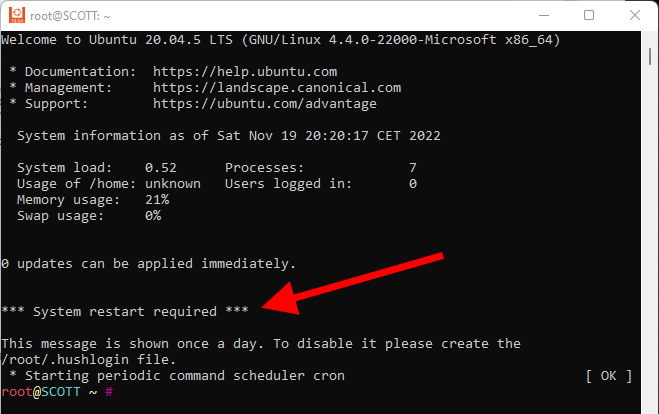
If you see a message about needing to restart Ubuntu first, do this:
How to “reboot” your WSL machine:
- Close WSL window
- Run PowerShell (as Admin) or Windows Terminal (as Admin)
- Type: wsl --shutdown
- Close PowerShell / Windows Terminal, and then re-open your WSL Ubuntu window
Well, that was easy.
If you see this:
OH! That failed… Right. Before panicking, just do this:
1 | apt remove --purge snapd |
Remember that this is real linux on a not-real machine, so stuff gets wonky. Removing snapd ‘fixes the glitch’.
Then:
1 | sudo do-release-upgrade |
But don’t go anywhere just yet… You’ll be prompted a few times to confirm things like letting the upgrade install auto-restart services for you.
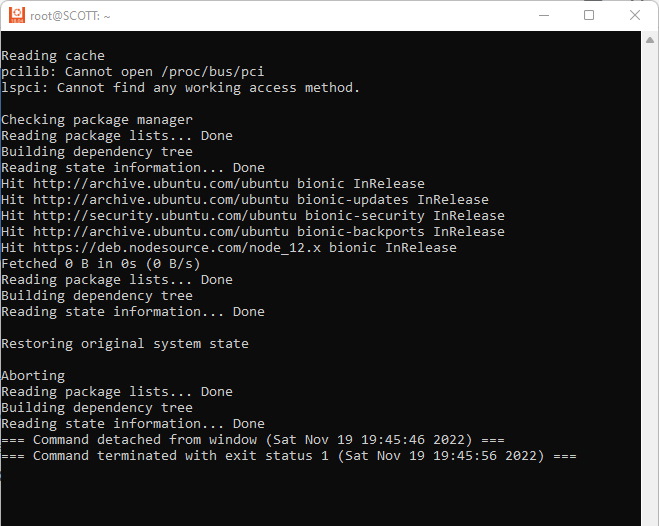
Also, don’t freak out if you see some repeated errors related to things like kmod or PCI devices or whatever. There is bound to be at least a little weirdness. Just sit tight, and it’ll carry on.
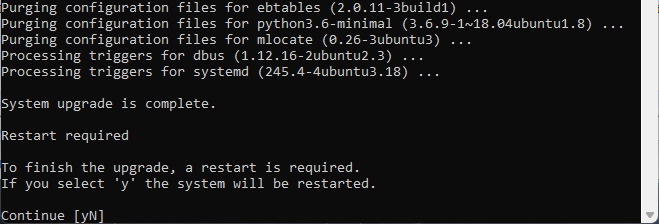
Eventually, it will tell you:
Of course, you’ll tell it to reboot but it won’t because it’s not a real machine. So, just type y and hit enter, and wait. You’ll see something like this:
Press a key, and then you’ll see this:
Type x and it’ll do something weird, then dump you back to the shell prompt. Just close the WSL window, and then restart it:
Well, that was easy!
If it tells you that a system restart is required, see the section above entitled: How to “reboot” your WSL machine
It also might show you some error related to usrmerge, and then appear to abort – but it worked fine. Do lsb_release -a and you’ll see that the upgrade finished. Hey, it’s linux ON WINDOWS, so what do you expect?!
In my case, I then repeated the above process to upgrade to Ubuntu 22.04 LTS, et voila!
If you need snapd again, then just do:
1 2 | sudo apt install python3sudo apt install snapd |
And if you’re looking for a way to run cron jobs for a backup or whatever, see my article: Run cron jobs in Windows Subsystem for Linux
If you need git + gitk, see: How to install git and gitk on Bash on Ubuntu on Windows 10
Piece of pie!


Legendary. Thanks for your post, worked to a tee.
Ditto – well said.