 You may have read my 2013 post entitled How to Easily Resize Images in Windows.
Thanks to a comment from a reader the other day (you rock, Nick!), you don’t need Windows Live Photo Gallery anymore.
There’s a free tool available from a Microsoft engineer that you can grab and make your life WAAAY easier.
You can even resize multiple images at once anywhere on your puter – in just a few clicks and without firing up any application!
Behold: ImageResizer!
So the trick is to download and install ImageResizer by Brice Lambson.
Don’t be fooled by the spartan web site or the page’s ranking in search engines.
This is a serious tool written by a serious dude who works at Microsoft. He’s provided this tool for free.
Once you’ve downloaded and installed it, you’re ready to rock.
How to use ImageResizer
All you need to do is go anywhere on your puter, and either:
- Right-click a single image
- Select multiple images, and right-click on the group of images
It doesn’t matter where on your puter these images are stored. For the example below, I just used a single image on my desktop in Windows 10.

Once you click Resize pictures in the popup right-click menu, you’ll see this:
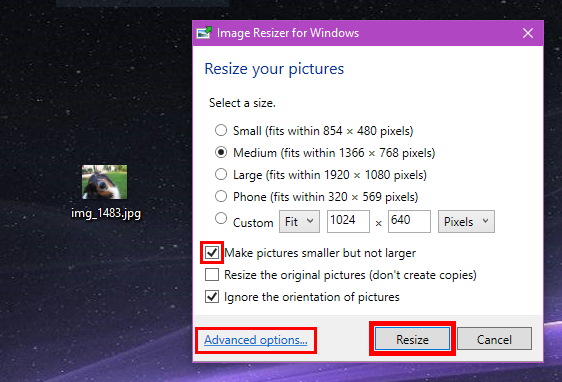
First, choose the pixel dimensions to which you want to shrink your image(s).
For example, for e-mailing pictures to someone, Medium works well (1366 x 768).
Next, make sure that you CHECK the box Make pictures smaller but not larger. This ensures that smaller images won’t be blown up (pixelated) if they’re already small to begin with.
Then, click the Resize button.
Your images are duplicated, resized to something smaller, and the resized image filenames include the size in parentheses:
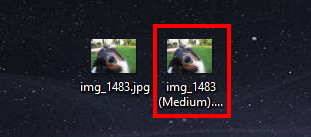
In my case, the original image on the left was taken with a digital camera, and is 5.28 MB at 3648 x 2736 pixels.
The resized image on the right is 184 kB at 1024 x 768 pixels.
Note that the default options will maintain the aspect ratio of your images. So, while Medium is set to 1366 x 768, ImageResizer took my doggie pic and shrank it such that the height was 768 px, and the width was less than 1366 px so as not to stretch the image when resizing it.
Also, note that ImageResizer can be used to resize JPG, GIF, PNG, BMP, TIFF, and WMPhoto image files.
Advanced Options
If you want to get fancy, click the Advanced options… link (see image above).
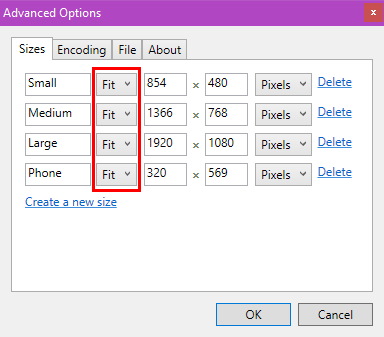
Here you can change the names of the sizes, change the dimensions of each size, or even add new sizes.
The default setting of Fit is the best, but you can experiment with Fill or Stretch to see how they work if you want.
There’s also an Encoding tab:
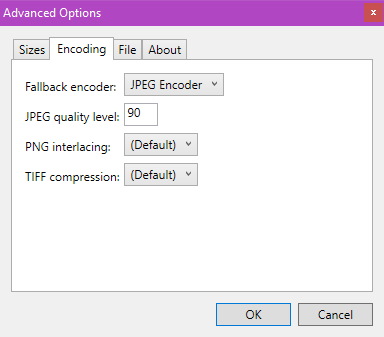
You can change the fallback encoder, change JPG quality level (handy!), and other PNG and TIFF options. Most users probably won’t need to change anything in this tab.
Finally, there is a File tab. You can change the settings so that your resized files will have custom filenames – like with the pixel dimensions, size name, or other options instead of the default: img_name (Medium).jpg
So there you have it. This is a seriously handy tool, and I only wish I had found it years ago!


Recent Comments